
Over the summer Close to my Heart had a rockin' "mystery box" special and I was lucky enough to get a couple of boxes stuffed full of goodies including the retired Holiday Photo Greetings 6x6" card kits. I don't usually send photo cards BUT I immediately saw the potential of using these kits for other things. Each one of our card kits comes with three sheets of stickease and 12 card bases so I knew I had a lot of material to work with. I punched out the inset that was ready for removal (the place where your photo would go) and used just that part along with the stickease and some white cardstock to create these awesome gift card holders with my daughter. We had such a fun afternoon making these!
If you happen to have one of these kits (or any other CTMH card kit) here is a quick tutorial for making some of these on your own!
Gift card base: 5"x8.5" (score at 3.5" and 7")
Card front: Section of card front measuring 3.25x4.75" - we ran ours through the Cuttlebug with the snowflake emobssing folder
1. Fold up the gift card base - you'll have a 1.5" tab at the bottom.
2. Punch a half circle out of the middle of the 1.5" section to create a "pull" spot for the gift card.
3. Stamp a border across this 1.5" section and decorate (here we used one of the stamps from Jingle Borders and my daughter colored them in with our Watercolor Pencils)
4. Adhere just the sides of this section to make a pocket.
5. Adhere the card front and decorate with stickease as you desire - designing is half the fun!
6. Use pop dots and liquid glass to jazz things up!
Here is the inside view of the gift card holder with the colored border and punch out shown.

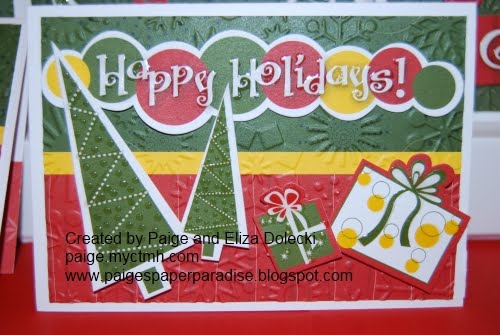
Some close up examples of the cards - we wound up making a total of 14 by cutting up one of the 6x6" photo cards (we used the back and the front pieces and pieced them together).


No comments:
Post a Comment