Friday, October 31, 2014

November Stamp of the Month Blog Hop - It's the Little Things

Welcome to our November Stamp of the Month Blog Hop! 

We will be featuring November's SOTM, It's the Little Things.  If you have come here from  Haley's Blog, you are on the right path! The blog hop is a great big circle, so you can start here and work your way all around.  If you get lost, click HERE to find the complete blog hop list!

When I saw this group of stamps I thought how fun it would be to random stamp an entire sheet and then cut a gift ensemble from it!


I used analogous color families like blues and greens, yellows and oranges, and purples and pinks to layer inks while keeping them from looking muddy.

To give things a bit of sparkle I added dots from our Silver Metallic Marker on all the tiny orange flowers and the centers of the purple and pink flowers before cutting with my Cricut.


Our thin Thistle Diagonal Striped Ribbon was perfect to tie up the gift card holder and add the tag to the bag.  I did use a small velcro dot on the bag to keep it closed as well.


Here is the Explore Design Space file for this ensemble.  It uses one 12x12 random stamped or patterned paper and one 8.5x11" sheet of white cardstock.   


Here is the list of colors and stamping order I used:
Purple Flower:  Thistle and Gypsy
Pink Flower:  Pixie and Thistle
Yellow Flower:  Canary and Goldrush

To purchase the SOTM for just $5 with $50 purchase or any of the other items needed to make this project, visit my shopping site!


Now hop on over to Jilena's Blog here and see what she has created!


Monday, October 27, 2014

White Rabbit Halloween Costume

My son was invited to a Mad Hatter Halloween Party right after I made the two masks for his sister in college.  As soon as he told me about it I had an idea in my head based on the rabbit mask in the Cricut Animal Mask digital file.  I added a couple of extra props and this costume came together pretty quickly - design plus cut and assembly took me a morning.


Close up of the mask - the nose is covered in a couple of layers of Liquid Glass to give it shine and dimension.  The gray nose area is silver metallic cardstock to catch the light.  I cut an extra black backer and sandwiched the black grosgrain ribbon ties between the two pieces.


I used the Ace of Spades card from our CTMH Artiste cartridge and replaced the spades with a hearts.  I had the Explore draw the A on and filled in the outline with gold metallic marker.

I absolutely LOVE the way the oversized pocket watch came out!  I added a front piece and hinged it so it opens to see the inside of the watch.  The letters are drawn onto silver metallic cardstock by the Explore - Black then outlined in Copper.

The front of the watch is held in place by a small dot of velcro.  We threaded the watch ribbon/chain through the button hole of his suit jacket so he could pull it out to show the time.  Too fun!

He thought his costume was awesome when he saw it and it was a bit hit at the party too.  It makes me feel like a Mom Superhero when I knock it out the ball park for one of my kids!  Have I told you today how much I love my Cricut Explore???

Thanks for stopping by today!  Stay crafty my friends!

Paige


Wednesday, October 22, 2014

Fox and Cat Halloween Masks with free Explore File

The other day I got a call from my darling daughter who is off at college asking about Halloween costumes.  Her dorm is putting together a fun party for the kids and she wanted a little something cute to wear.  I pulled up a couple of the cartridges from my new Cricut Subscription that my husband bought me for my birthday this year (thanks Mark!) and asked her which cuts she liked the best. Here is what she picked and what I created.


These came out so cute!  I used some metallic paper I had on hand for the reflective silver (just in case they are doing outdoor stuff for the party) and lots of dots of Glitz Glitter Gel to accent.  The orange fox paper is from our Scaredy Cat Paper Pack. The noses are both glitzed and then I added a layer of Liquid Glass on top to keep the glitter on.  The cat's eyelashes are outlined on the tops only with Liquid Glass too - tres chic! 

Since I had to figure out the sizing for these cuts for an adult face I figured I'd share the file here so people don't have to go through the sizing process like I did - LOL!  To make them into a wearable mask I also added 18 inches of grosgrain ribbon to each side and cut a second black base layer to sandwich the ribbon between two black layers making the masks pretty sturdy.  I did use liquid glue for all the layers to ensure a really good bond and a strip of Score Tape under the ribbon tab on each side.


Now I need to make one of these cuties for me!

Paige


Monday, October 20, 2014

Signup today - Next Card Buffet Friday, 24th October from 7-9PM!

Our next Card Buffet is this Friday, 24th October from 7-9PM!  Don't miss out on 2 full hours of all you can "eat" cardmaking fun for just $15!  RSVP your spot at the table by sending me a note to Paige@Stampologist.com or give me a call at 425-260-6965!  

Just check out this TOWER of projects waiting to be put together by YOU!  Each box has everything to create one project.  The double stack is almost as tall as I am!


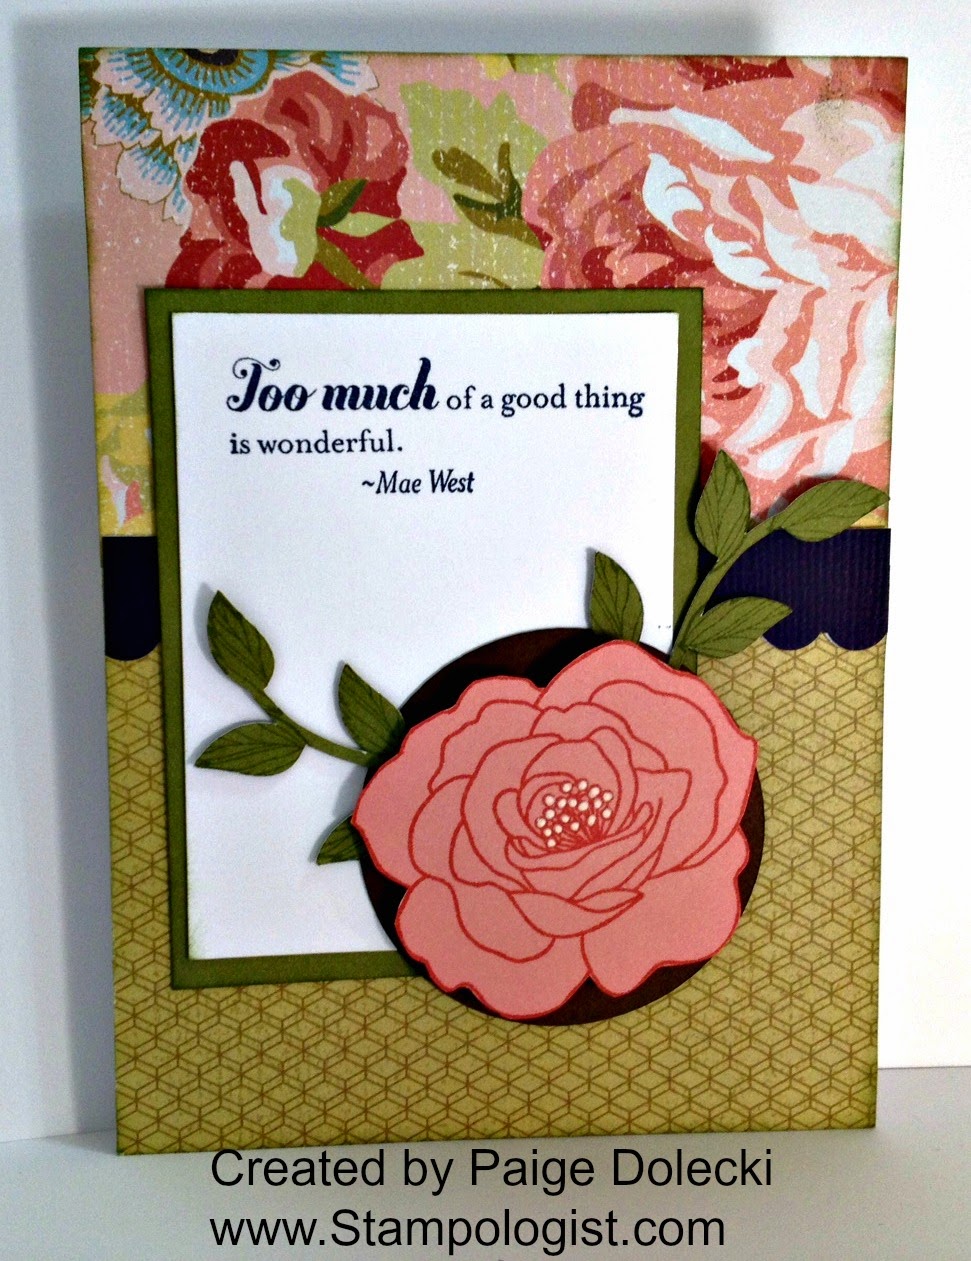
One of the good things about doing Card Buffets is that I always have tons of artwork to share on my blog!  This sweet card was insipred by a fellow CTMH consultant Amy Moore - you can see her original here


Inside detail showing a fun washi banner to decorate the interior.  

I hope to see you Friday night!

Paige


Thursday, October 16, 2014

October Card Buffet - Thursday, 23 October from 10AM-12PM and Friday, 24th October from 7-9PM


Who:  Anyone 12 and up!  All pieces are pre-cut and ready to stamp/assemble so new to advanced crafters are welcome!

What:
  Card Buffet - all you can "eat" in 2 hours

Cost:  $15 Flat fee for a fun and productive girl's night out!

When:
Option 1:  Thursday, 23rd October from 10AM-12PM 
Option 2Friday, 24th October from 7-9PM  at my home in Snoqualmie (arrive 15 minutes before the start time to view and be ready to go!)

What to bring:  Adhesives like a glue pen, tape runner and pop dots.  Basic tools like bone folder, scissors (shared tools will be available).

What is it:  I have 18-20 different cards in a variety of styles and sentiments with everything cut and ready for stamping and assembly.  You choose the box that contains the card you want to make and then take the box to your seat and put together as many of those cards as you'd like.  When you are done, return that box to the table and pick your next project.  You work at your own pace on whatever projects you choose and can do as few as one or as many as you like of the same card within the 2 hour time limit.  The only rule is that you have to finish each project before you move to the next one (no bringing supplies home to finish).

RSVP:  call/text (425)260-6965 or e-mail Paige@Stampologist.com


Discounts:  Place a $30 CTMH order and get $5 off your Card Buffet!  
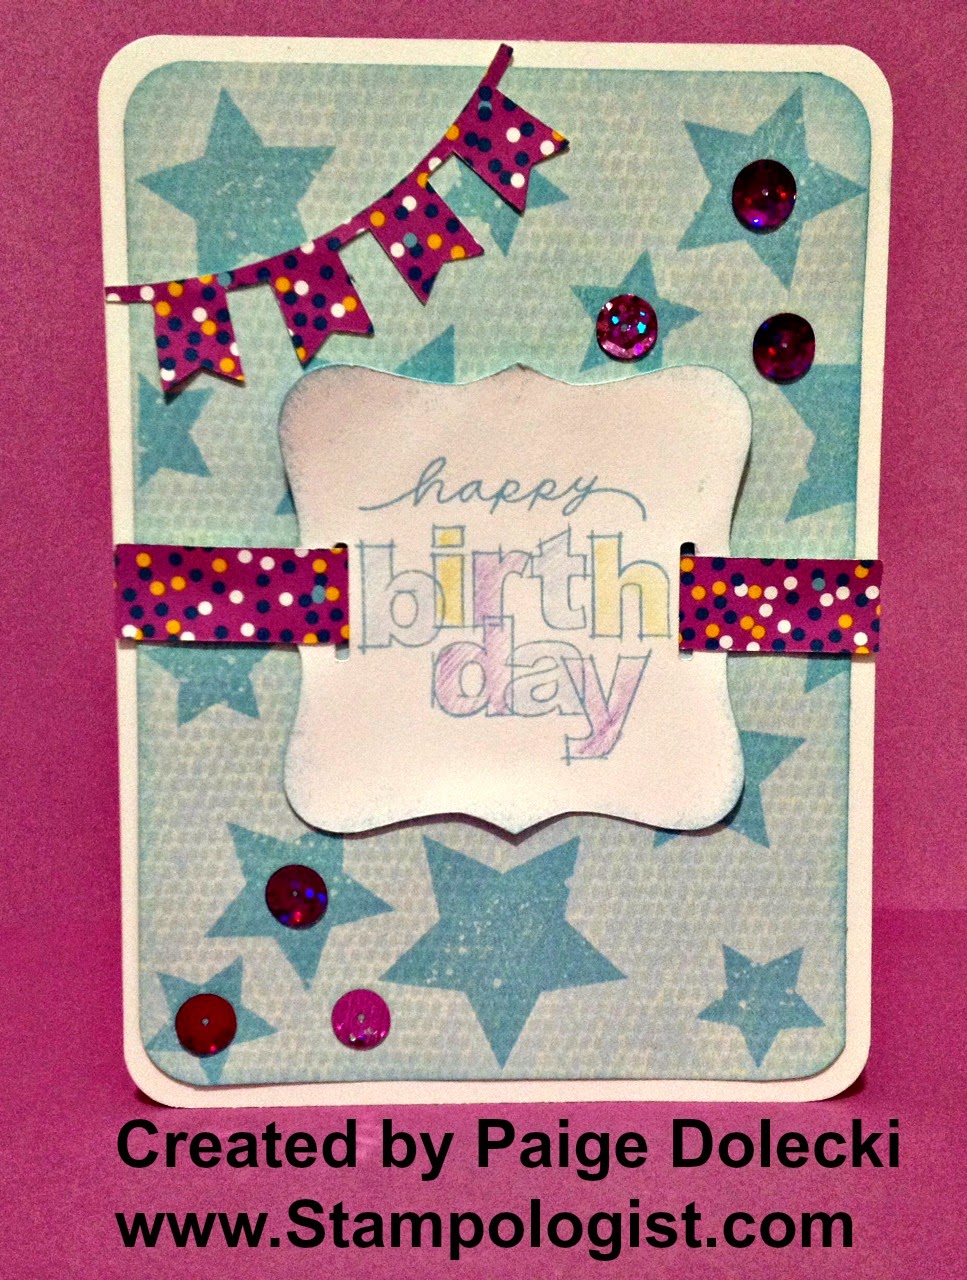
The cards shown here are just 2 of the 19 projects available including some from our new Artfully Sent cartridge!  We'll have thank you, birthday, thinking of you, condolence, feel better soon and more themes - something for everyone!


Wednesday, October 15, 2014

Artfully Sent Explore Design Space Sizing Cheat Sheet - download a FREE copy!


Artfully Sent was designed around the E2 machine and older so for people with those machines - use the sizing as indicated in the handbook.  Cards can be adjusted in size but some of the details in the cuts may lose their sharpness at smaller sizes.  If it looks pretty intricate, cut it at the sizes shown.

For those of us with the new Explore machine, the sizing has to be adjusted to create the size cards we want.  The Explore has such detailed cuts that really you can make your cards at any size so a 5x7" card can easily be changed to a 4.25x5.5".  I've spent several hours putting together a document with the guiding principles for adjusting the sizes of cuts to get any size card as well as specifics for using vertical and horizontal fold cards, envelopes and liners, Pocket Cards and the Sleeve cards.  I love getting feedback on my documents to make them as useful as possible so feel free to drop me a note. 

You can download this word document from my google drive here:

https://drive.google.com/file/d/0B-Ury5dYyE3vNzcwUDBWWlE3YUU/view?usp=sharing


I always appreciate your support of my business which gives me the time to create fun and useful freebies!  

You can shop with me at:


You can give a like on my business page at:


Thanks for stopping by today and stay crafty my friends!

Paige

Monday, October 13, 2014

Tri-Shutter Guy Card with Hats Off

I love making cards with a surprise element to them like this fun tri-shutter style card.  It fits into a regular envelope but when you pull it out it becomes a stand-up display! 
This vintage themed stamp set is one of our fabulous Hostess Rewards sets called Hats Off.  To get it (at a discount no less!) host a party of $150 online!  


Love the dimension on this fun style of card!

This card was featured at my September Card Buffet and I'm already hard at work designing for October's class.  I know guy cards are always the most difficult to design so come to class and get some great ideas and create samples to take home!

October's Card Buffet
Date:  Friday, 24th October 7-9PM
Cost:  $15 for 2 hours all you can create
RSVP your spot today by sending me a note at Paige@Stampologist.com!

Stay crafty my friends!

Paige

Card base Explore cut file created by Narelle at the Non-Crafty Crafter.  See her file here.

Wednesday, October 8, 2014

Thank You Card with Gift a Lift and Balloon Ride

Sign up today for the October Card Buffet!  
When:  Friday, 24th October from 7-9PM
Where:  Snoqualmie, WA
Cost:  $15 for 2 hours of all you can "eat" cardmaking!
RSVP:  Paige@Stampologist.com

All the hard design work and cutting is done ahead of time.  You show up, stamp a bit, assemble your cards and have fun!  All you need to bring are your adhesives!  Come this month and make cards as cute as the one below!

Here is another sweet card we made at last month's Card Buffet. This one uses the adorable Give a Lift stamp set.  There are multiple sentiments that fit inside the banner piece on the balloon - love that flexibility!  Check out that gorgeous Bronze Shimmer Trim giving this card some extra special sparkle! 


Thanks for stopping by today!

Paige


Tuesday, October 7, 2014

Embossed Alcohol Marker Colored Foil Scene Card

I had so much fun making the embossed alcohol marker colored foil background for yesterday's post that I decided to try it with a scene embossing folder.  Our new Shinhan Touch Twin Alcohol Markers are perfect for this technique!

Click HERE to see my quick tutorial on how to create a tin foil dry embossed piece for your projects.


These cards are SO shiny and pretty in real life!


 I love techniques that are super easy but full of visual pop!  I hope you'll give this one a try! 

Stay crafty my friends!

Paige

Monday, October 6, 2014

Shinhan Touch Twin Marker Blog Hop - How to Emboss and Color FoilBackgrounds

Welcome to the Shinhan Marker Blog Hop!  Today our group of CTMH Consultants will be showcasing our new Shinhan Touch Twin alcohol markersIf you are coming from Wendy's Blog then you are on the right track!  This blog hop is a big circle so keep going and you'll head back here.  If you happen to get lost along the way you can find the complete list of hoppers here on Melinda's Blog.

I wanted to try something new for this hop so I made a card with a dry embossed marker colored foil background.  I had this technique kicking around in my head and couldn't wait to try it with our fun Chevron Embossing Folder.  I have a brief How-To for this technique at the end of this post so be sure to scroll to the end.

I colored my Cricut cut words with my Shinhan markers to match the background exactly. Then I added a splash of our retired Pink Glitz Glitter gel to give the heart a little umph.  You could also use our Pink Glitter paper to give it some sparkle!

This one is going off to my college girl for her weekly happy mail.  I miss her so much and I know she gets a boost each time she gets a bit of love from home in her mail box.


Now hop on over to Haley's wonderful blog to see what she has created for you!

Edited to add colors of markers I used:
Reds: 
Cherry Pink then Tender Pink 

Oranges: 
Marigold then Leaf Green

Green Stripes: 
Vivid Green then Sap Green 

Blues: 
Peacock Green then Turquoise Blue 

Purples: 
Lavender then Peony Purple


How To Create Tin Foil Embossed Papers:

1.  Cut a sheet of Heavy Duty Tin Foil the size of the piece you want to create.  I used Reynolds Wrap Heavy Duty Foil and made a full 12x12" sheet so I could have extra to play around. 

2.  Using a sheet of plain CS, apply a thin layer of Bonding Memories Glue all over the CS.  Be sure to get the edges and corners.

3.  Place the foil down on the CS and gently press down to avoid major wrinkles.  A brayer might be helpful at this step. Minor wrinkles will disappear with the dry embossing.

4.  Trim your pieces to fit your embossing folder and dry emboss.  Check your corners and edges and apply a little glue under anything that lifts.

5.  Using your Shinhan Touch Twin marker, color your designs in.  I found the high relief sections were easier to color than the lower debossed sections.

6.  Sit back and admire your fun handiwork and then add it to a project to WOW someone!


Friday, October 3, 2014

Big Top Birthday Celebration Card

This is one of 17 different cards I had available to make at my Card Buffet last week.  

Now that you've seen this adorable cuteness, I know you want to sign up for my next Card Buffet on October 24th from 7-9PM!  Its just $15 for 2 full hours of all you can "eat" cardmaking!  To RSVP your spot at the table, contact me at:

Paige@Stampologist.com


Check out the Gold Polka Dotted Washi tape - isn't it awesome?!?

I fell in love with this adorable circus stamp when it debuted in the last Idea Book.  All my crafty friends know I'm a sucker for critter stamps!


Hope to see you on Friday, 24th October for my next Buffet!

Stay crafty my friends,

Paige

Thursday, October 2, 2014

Organizing Picture My Life cards using a Medium Organizer and this FREE Explore Tabbed Divider File

Today I was busy getting ready for my Picture My Life Buffet that is happening this Friday, 3 October from 7-9PM.  This is an open style class where people can drop in and make a few pocket style memory keeping pages using our Picture My Life kits at an a-la-carte price.  I have 10 of the PML kits so far and I wanted to make it easy for people to find the theme or color to match their pictures so this is what I created!

I've used a Medium Organizer #Z4139 and created a tabbed divider for both the 4x6" card sections and the 3x4" card sections using my Cricut Explore and Artbooking.   Each card has the name of the kit, the basic themes of the kit and the colors to make it easy to match by theme or color.  YAY!  

I love the way this came out and I'm sure the people who are coming to the class will appreciate having all the information at the ready!

Want to get a copy of the cut file?  I'm posting it for free but would love a follow in return!  You can follow me here on my blog or Like my page on Facebook at  https://www.facebook.com/Stampologist.
(Yes, I'm shamelessly trying to get more likes, but hey - Free File!)


If you do download this one, leave me a comment or show me a picture to let me know how you like my file!

Hugs,

Paige
Related Posts with Thumbnails

Blog Archive

Copywrite - or sharing the love!

Thank you for visiting me here on my blog today! I hope you have been inspired by my postings to create something lovely for yourself! It does take me a whole lot of time to create the artwork, tutorials and posts for this blog so if you would like to borrow my wording or artwork then I respectfully ask that you e-mail me for permission, credit me and/or link back to my blog. Thanks for your understanding and respect!

Paige